Overview
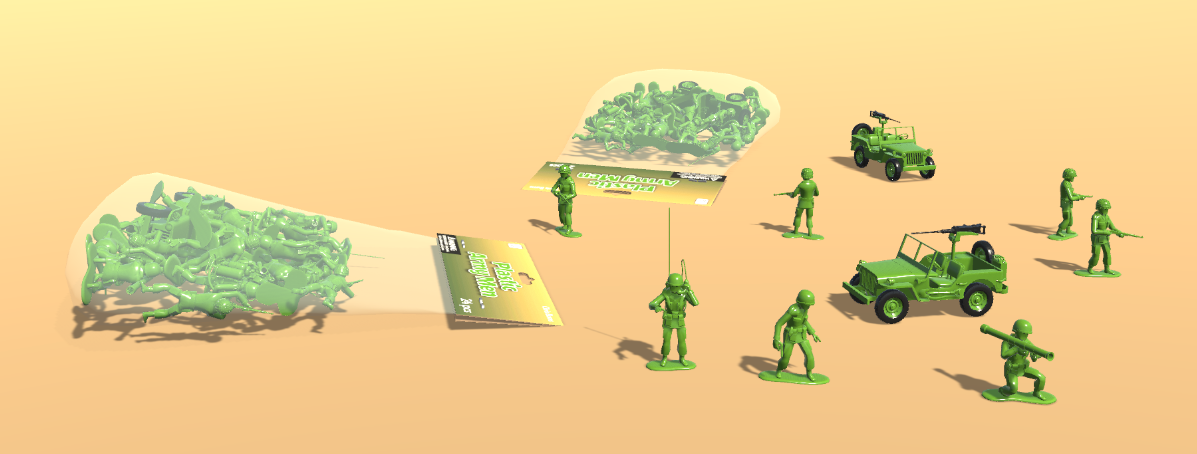
Plastic Army Men is a Unity collection of models, weapons, characters and vehicles in a plastic toy style. Inspired by the 90s PC game by 3DO and the toys I grew up with.
Thanks for downloading. Please leave a star rating and review if you like the asset, so I can continue producing more high-quality work. It really does help, thanks!
If you would like to support me further, you can do so via paypal.me/ChrisBurns3D.
Installing
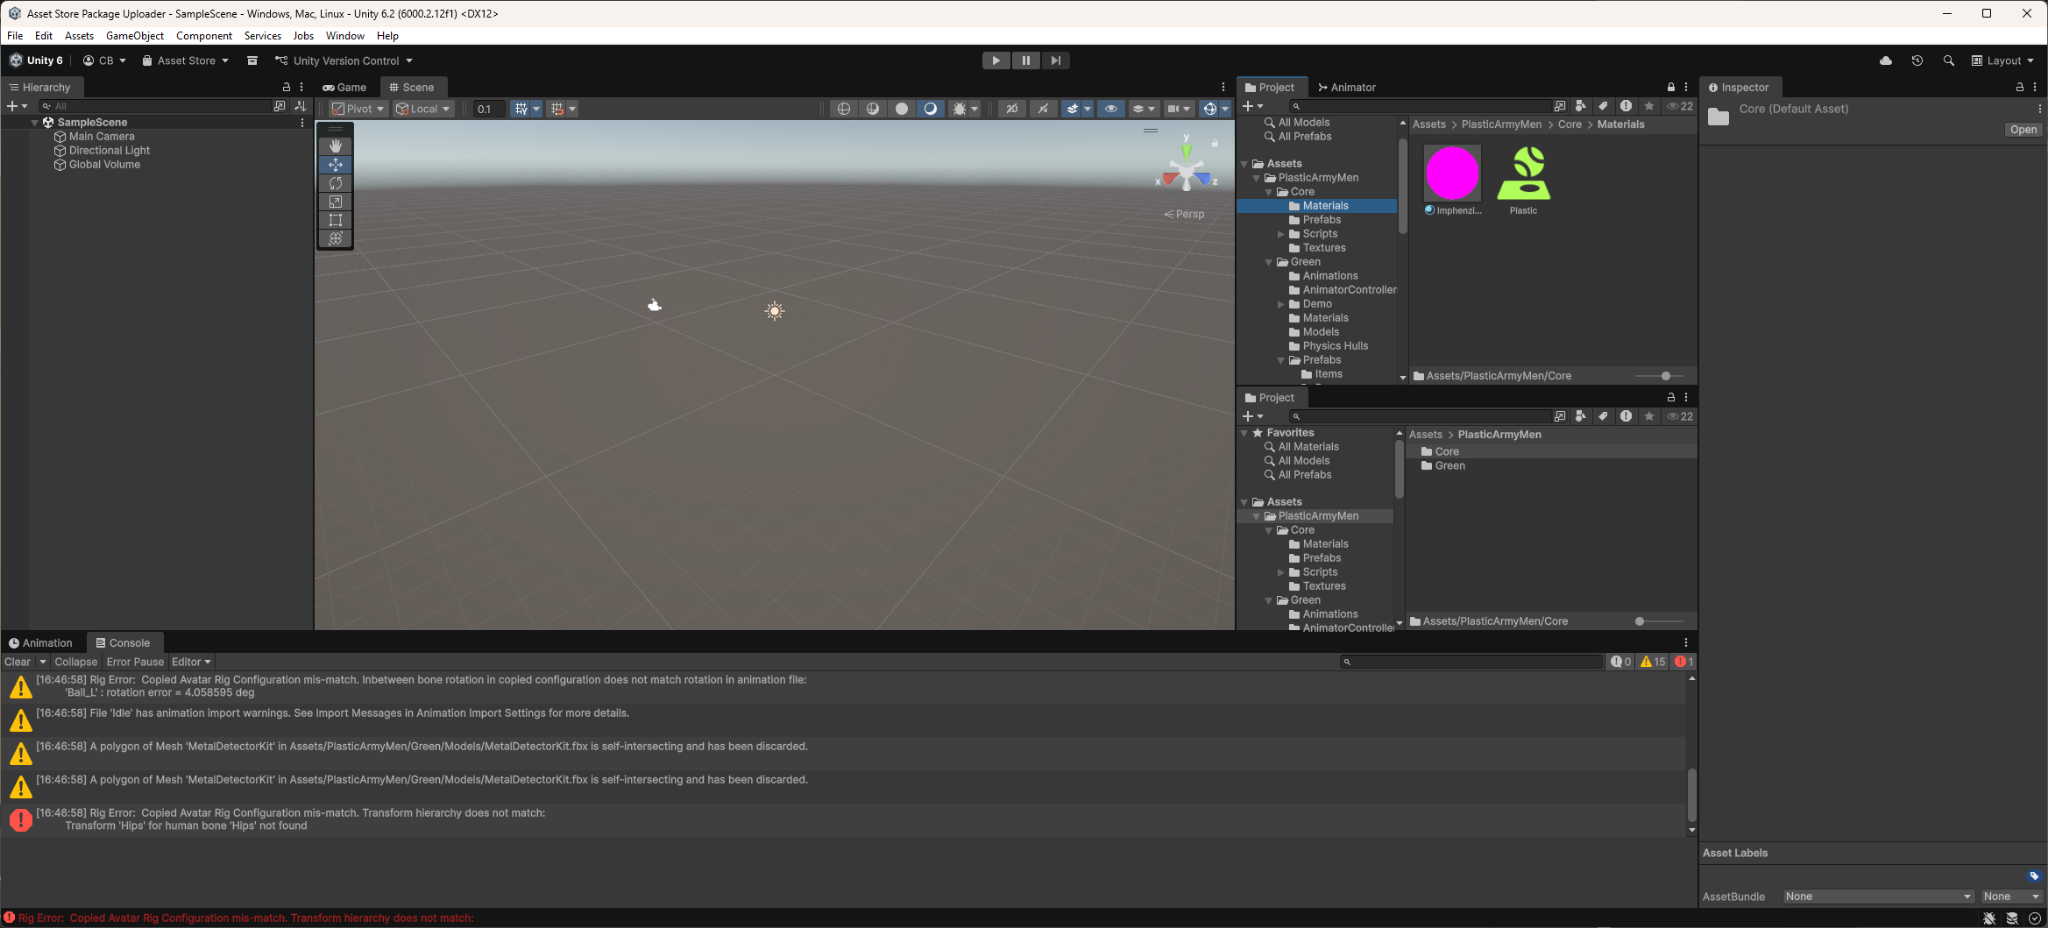
After downloading and importing the project, if there are Rig Errors in the console, these can be safely ignored. The texturing in this asset pack uses the Imphenzia PixPal shader, which is available for free and allows for easy texture sharing and packing for the objects in the pack.
If you notice the prefabs and models look magenta, simply navigate to PlasticArmyMen/Core/Materials, select the ImphenziaPixPal_URP material and set its shader type to Shader Graphs/ImphenziaPixPal_URP.
Saving your project should regenerate the previews of the assets, fixing any magenta previews.
Built-in Render Pipeline Setup
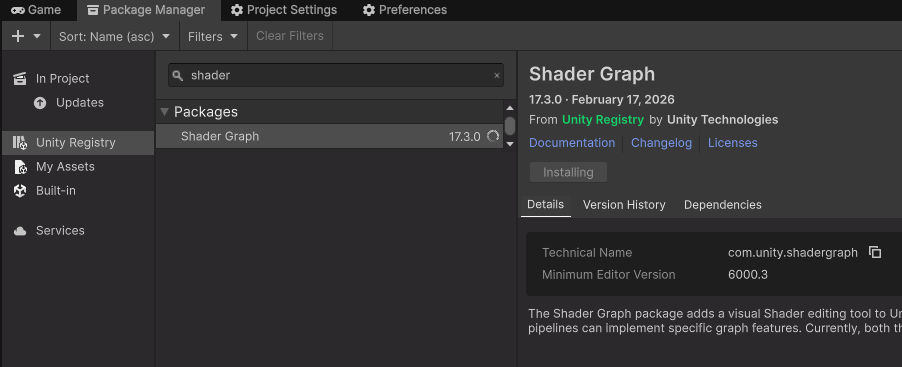
To set up the project to work with the Built-in Render pipeline, you will need to update the materials in the project. Firstly, download the Shader Graph package if it is not already in your project, from the Package Manager window.
Once installed, find the ImphenziaPixPal_URP material and set its Shader type to Shader Graphs/ImphenziaPixPal_URP. Then press the Edit… button next to the dropdown to open the Shader Graph window. In this window, you will see a yellow warning icon that indicates an unknown Active Target (Universal) in the Graph Inspector.
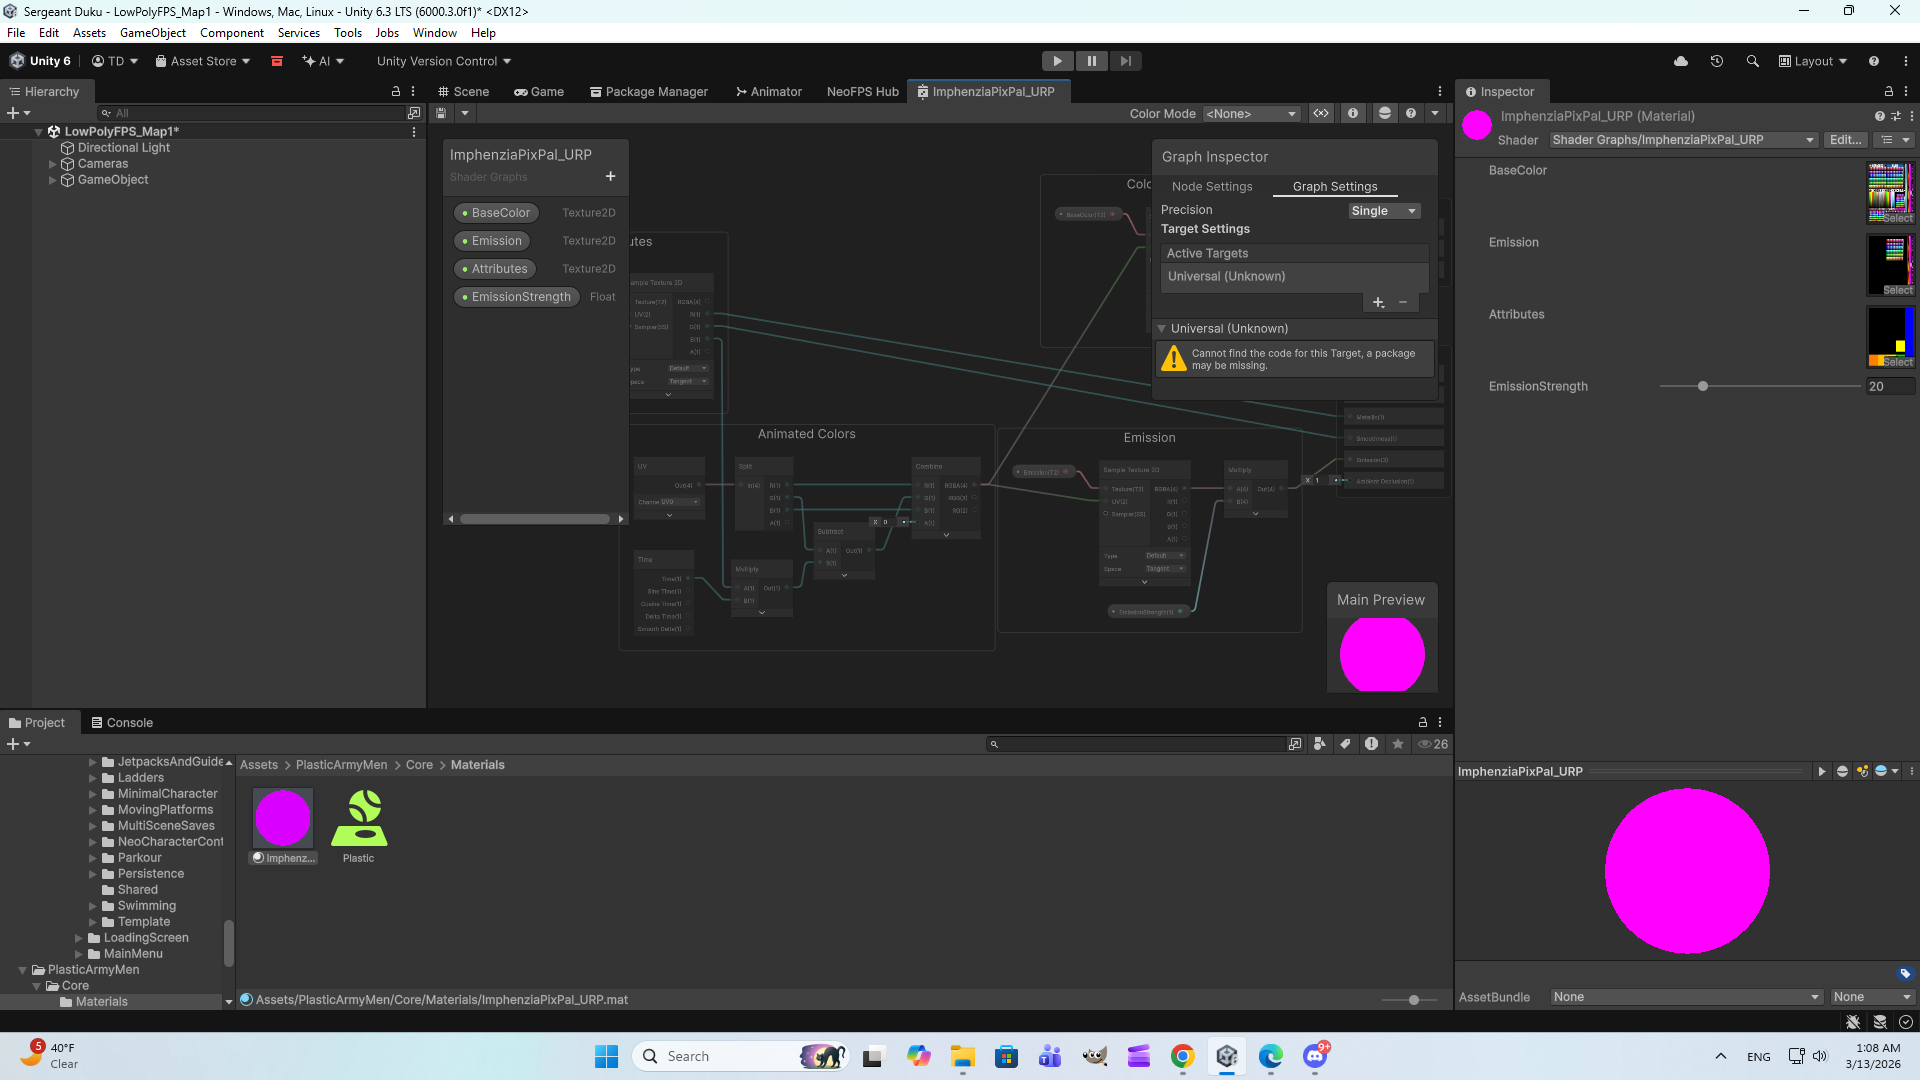
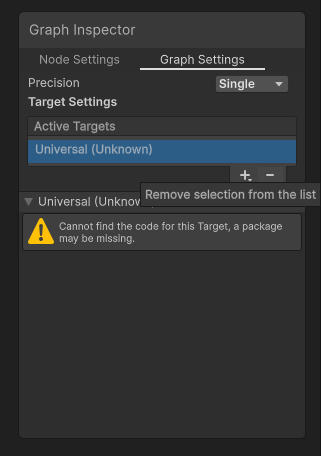
Simply remove this target, and add the Built-In type to the list, then save the Shader with the disc icon in the top-left corner of the Shader Graph window. If you then save the Unity project, the magenta preview of the material should also update.
Material Setup
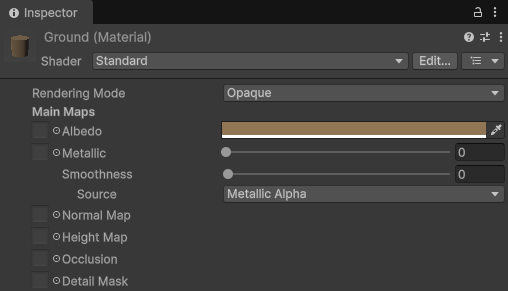
Other materials in the project, such as the Ground, Flags, etc., can all be set to Standard for their Shader type.
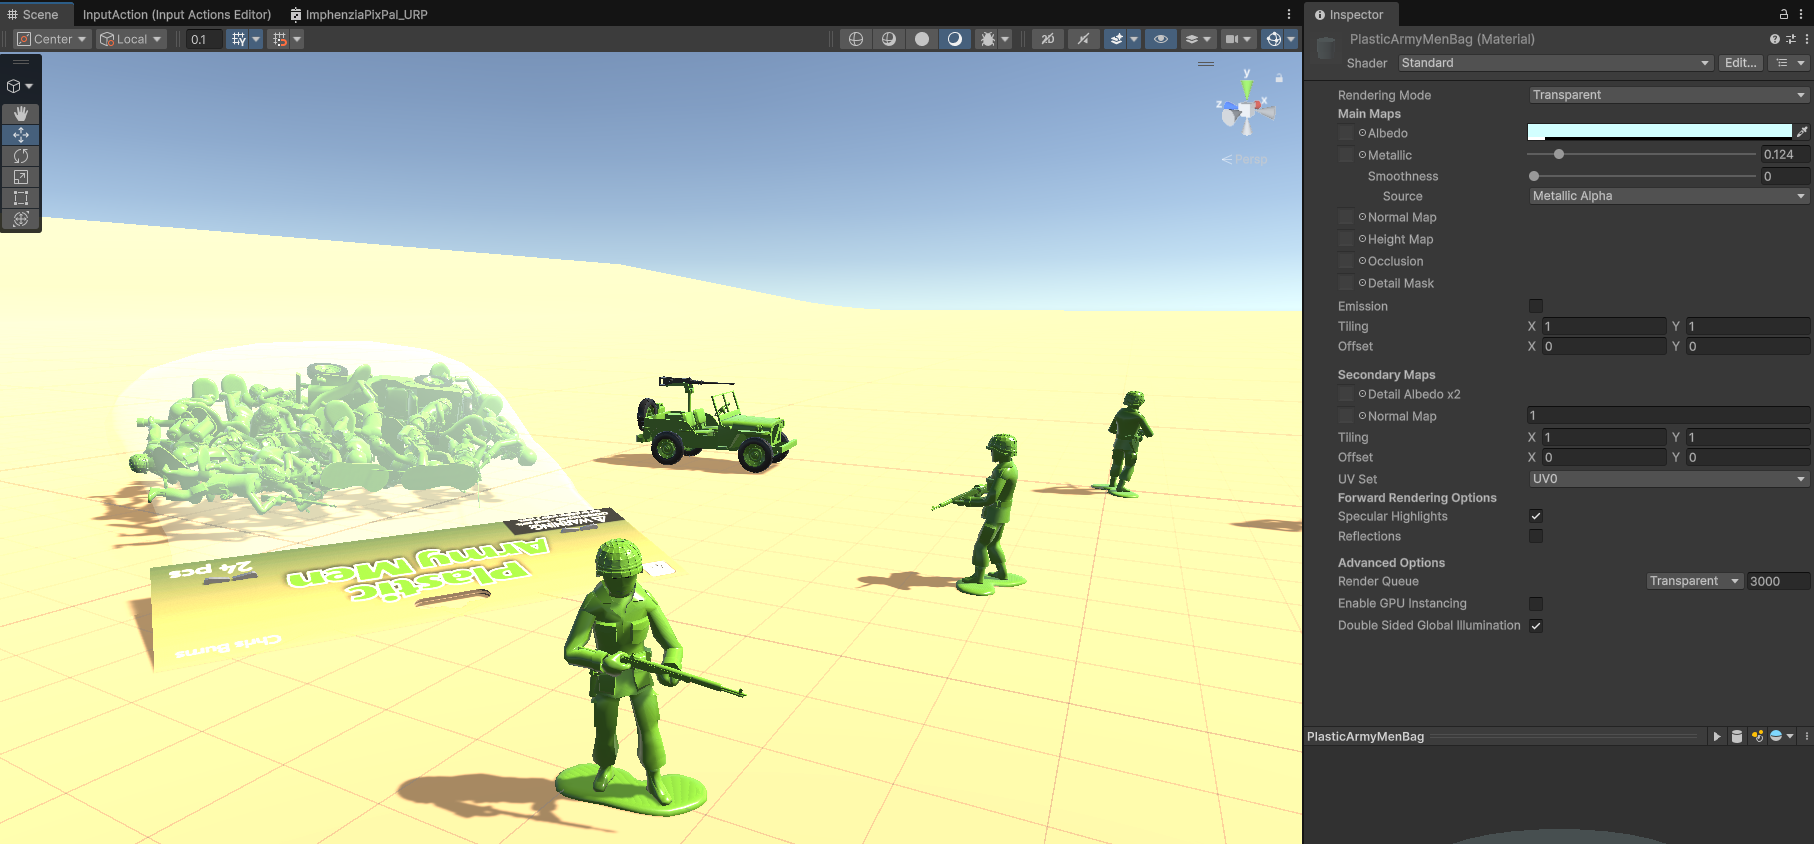
- PlasticArmyMenBag (Material)
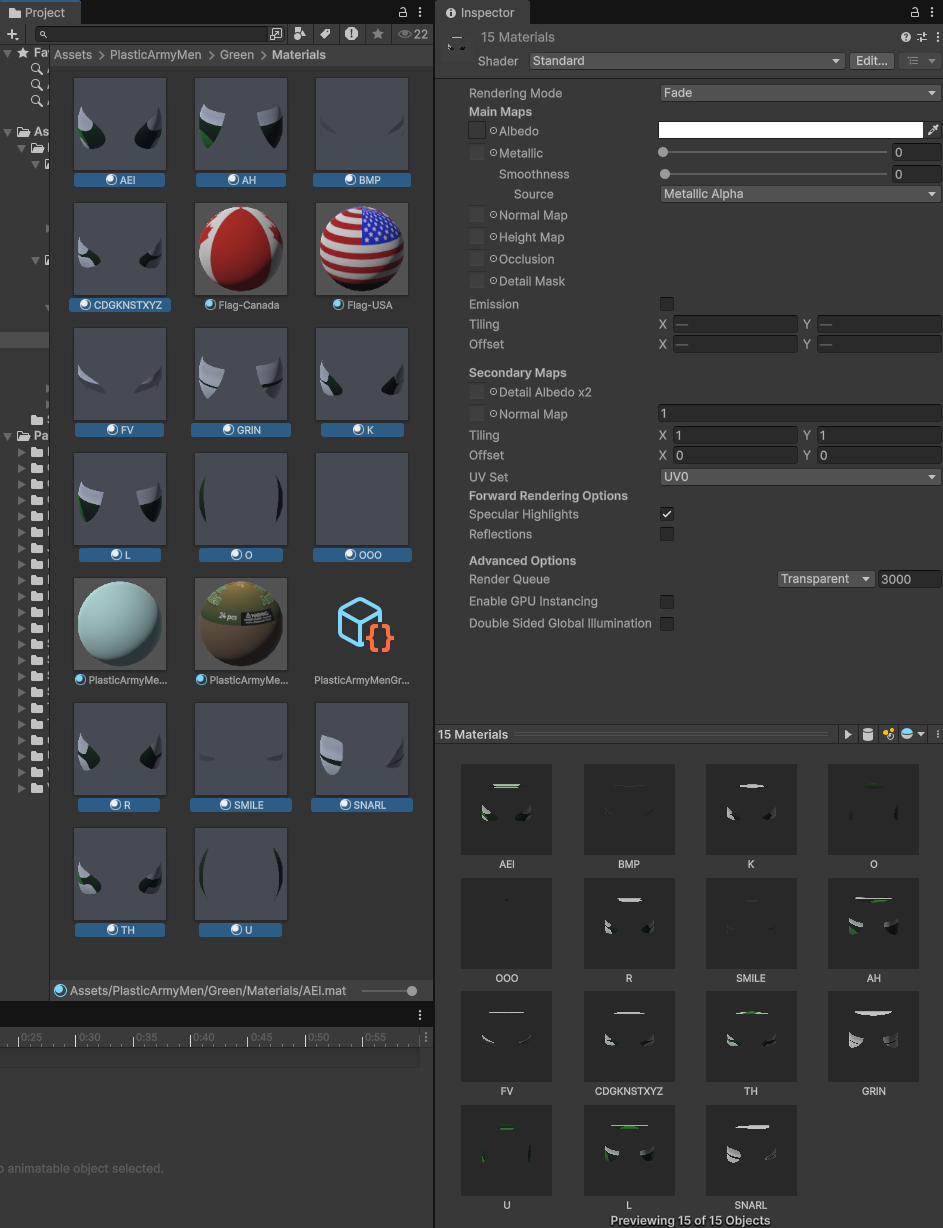
Set its Rendering Mode to Transparent. - Face materials (AEI, AH, BMP, etc.)
Set Rendering Mode to Fade and Source to Metallic Alpha. - Mouth materials
Set Shader to Standard, Rendering Mode to Fade, and Source to Metallic Alpha to make them transparent.
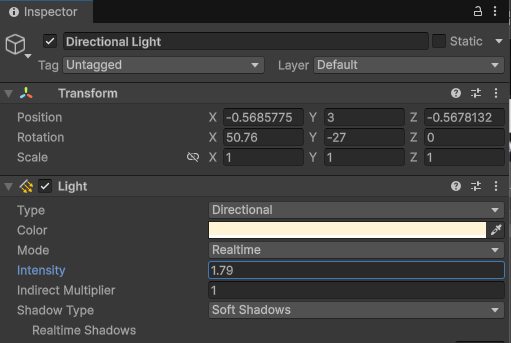
The demo scene should now look correct with all materials set up. The scene itself may look overexposed because it is configured for URP. Simply select the Directional Light and lower its Intensity to something closer to 1.79.
Animation & Rigging Package
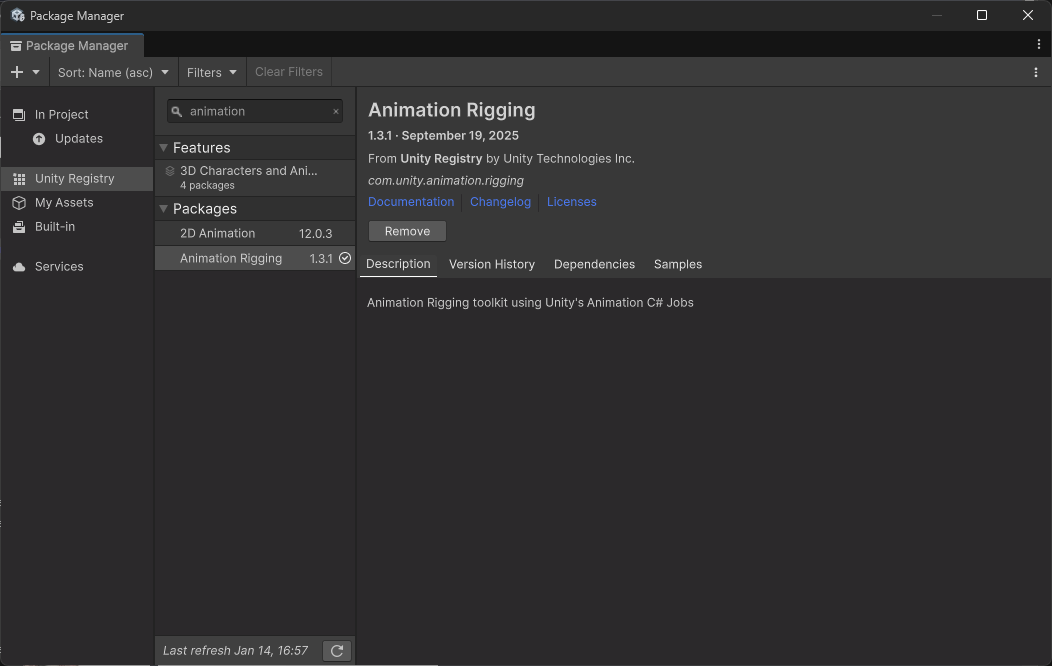
This asset also uses Unity's Animation & Rigging package for handling the IK chain physics used for the Radio Man, Flamethrower, etc. You can download this from the Package Manager under Unity Registry — search for "Animation".
How to Use the Included Base Plate Controller
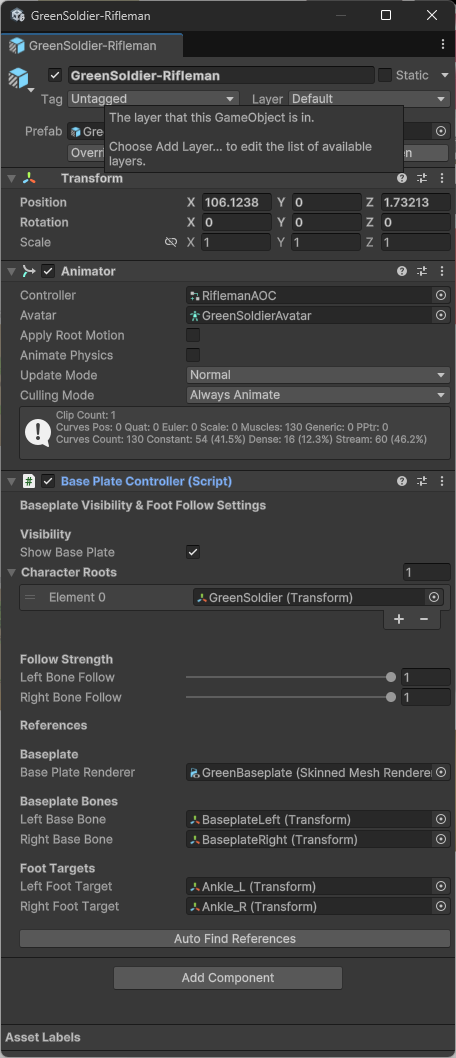
All prefab characters have an included Base Plate Controller script component on them. This is used for easily hiding and showing the base plate that gives them the iconic toy look, as well as for controlling its distortion during animation.
When the Show Base Plate bool is disabled, the character's mesh is offset down slightly (the thickness of the base plate) so that their feet remain on the ground. This does not affect the actual transform of the character, so it should not affect your character controller scripts. If you do not wish for this to happen, you can simply leave the Character Roots array empty. This is where you assign the root of the rig, and any additional items that need to be offset, such as backpacks (see Radioman or Flamethrower for example).
Component Reference
- Follow Strength
Controls the weighting between the Baseplate bones and their follow targets (the foot bones). - Baseplate
The Skinned Mesh of the baseplate. - Baseplate Bones
The two bones that allow it to bend and twist. - Foot Targets
The positional and rotational targets for the Baseplate bones to follow. - Auto Find References
Helps you reconnect these references if you lose them. Note that the Character Roots array is populated, as this may not find all the items needed for the positional offset.
This tool works in both Editor and Runtime modes. The options can be animated on or off for individual animations, or controlled via the Animator using Event Behaviours — for example, when a character mounts a vehicle or performs a pose that distorts the Baseplate too much.